Docs |

1. Short Introduction
MY-Drive.CLOUD is the CLOUD file management system for you.
Files are stored into an Amazon private cloud ( AWS VPC ) - your/company account.
It offers a secure file management system based on CLOUD resources and strong encryption.
Proposed web client interfaces emulates a desktop file manager for your convenience.
The system is secured and can be used to store sensitive information like files under GDPR rules, medical or financial files.
Users, groups and access right are managed based on high security standards.
Security:
The application uses encryption for communication ( WEB standard HTTPS ) and AES256 for files encryption at rest.
The Authorization API can a block brutforce attack.
Even with the included Office editors, the files are protected into your own infrastructure account.
The platform respect GDPR legislation and EU recommendations for file storage security.
( for EU, the AWS region should be in an EU state for GDPR compliance related to the file storage located in an EU state.)
1.1. About
My-Drive.CLOUD is based on the JSAP.CLOUD web applications development platform.
See the product web page here.
The jsapp.cloud is created and supported by Q-bis Consult SRL
You may ask your questions here.
6. Install My-Drive.CLOUD
See the product page for installation and initial configuration here
Prerequisites:
- an Amazon AWS account
- a domain name that will be used with the application ( it can be a subdomain )
- a SSL certificate for your domain/subdomain name. ( get a free one from here , use the DNS method for verification )
2.1 Users management
The My-Drive software application does not set a limit on the number of users . However, if there are too many users online for the EC2 instance to handle, you can choose another EC2 configuration to respond better to your user base's needs. The EC2 configuration is managed in your AWS account, via the EC2 management interface.
See the "users list" and the "groups list" next.
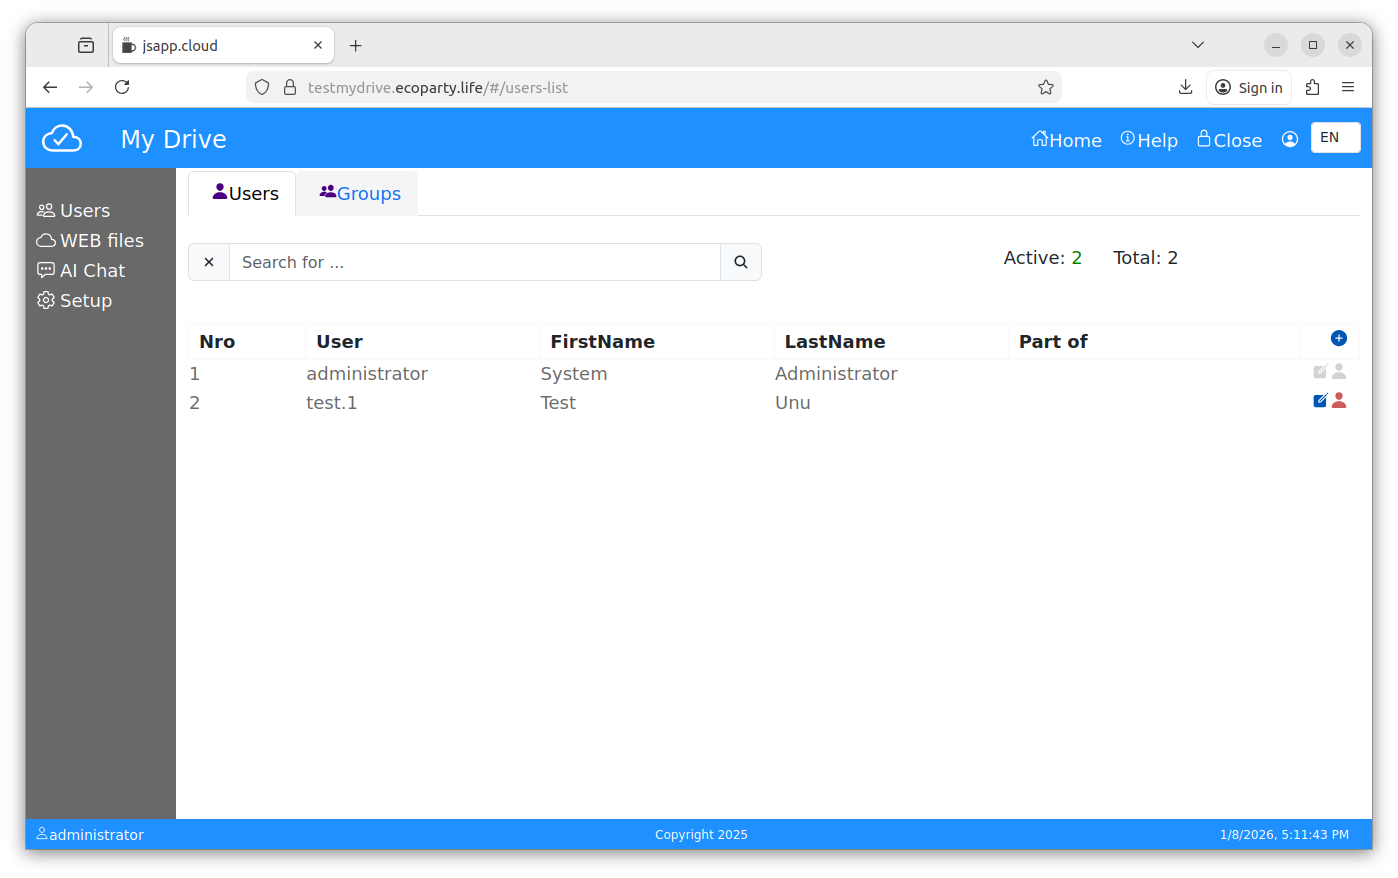
2.2. Users List
Add users:
- check the username carefully before it is added, cannot be changed later. It can be disabled only.
- user name and password can be changed from the interface later ( the people icon in the top right corner of the app ).
- each user can change its password from their account after login.
The administrator can not be changed from this interface, the administrator password can be changed from the user account information only.
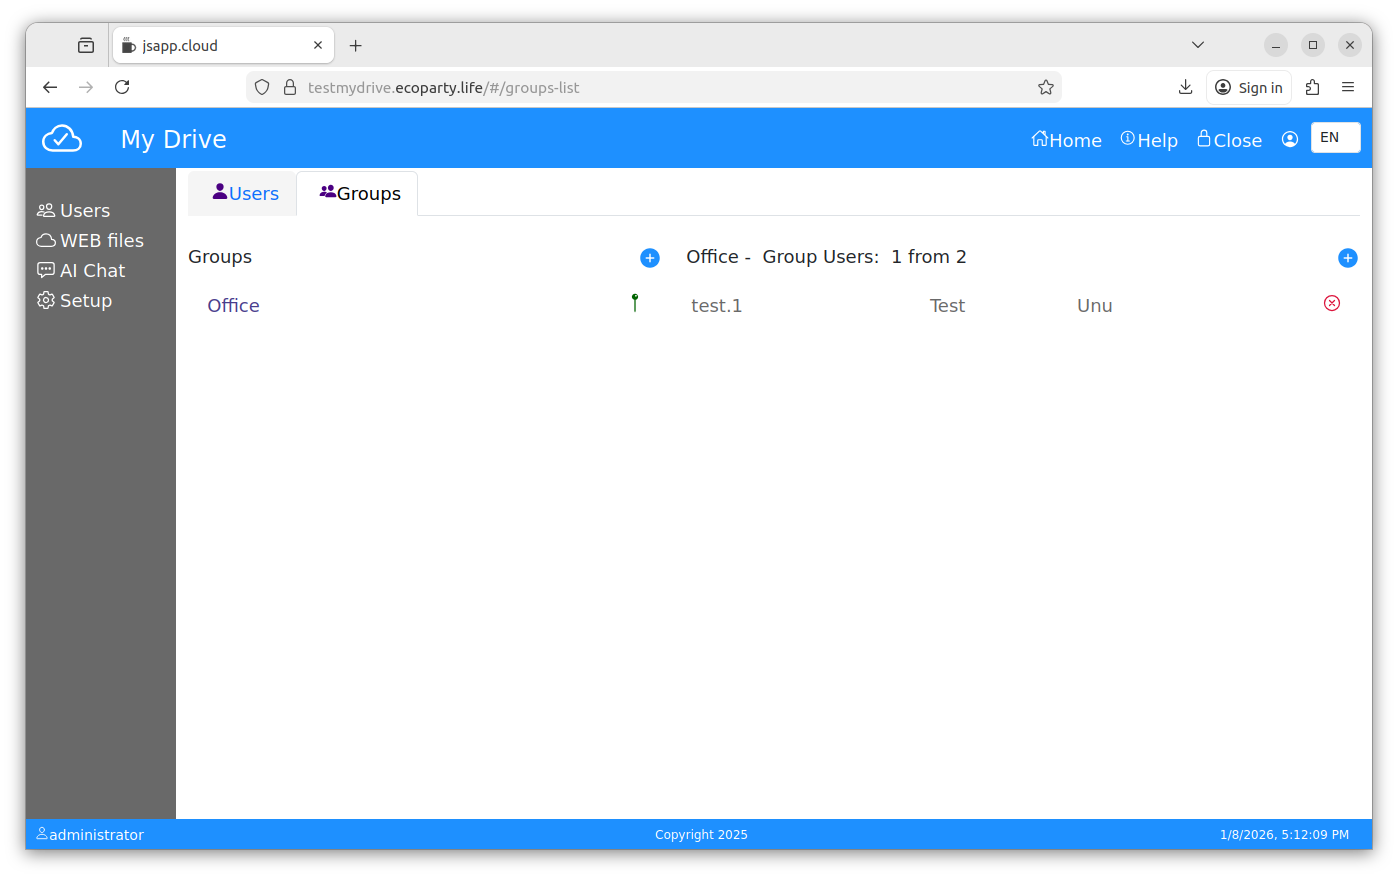
2.3. Groups List
See next picture:
The Users Groups list on the left, add users groups.
Add users to each users group. Users can be added or removed from an user group.
Users Groups can not be deleted or edited even they are empty.
3. Web files
Encryption/decryption is made on the data upload/download stream at rest and protected by SSL on tranzit.
Use it to store important files, you can share folders with other users or users groups.
This is a default module tha comes with the provided web client.
The File manager can be used as an CLOUD IDE for your web application files, based on ACE.
User Interface UI
The Web Files module, it is split into two parts:- folders
- files.
There are default folders (Documents, Files, Trash, Applications, Network).
"Documents" and "Files" are used for your own files ; create sub-folders as you need them.
"Trash" stores deleted files ; you can permanently delete them or recover them.
"Applications" stores files used by the WEB APP ; files can be stored here as well; however, this is a system folder.
In the "Network", you can find folders that are shared with you or with a user group of which you are a part .

New Folder
Use next options to create a new folder:
- "New" button in top left part of the module page. ( "Folders" bar )
- " + " button, right ( under "Files" bar ) when a folder is open.
Upload Files
In the "Files" bar, press the "Upload" button ; a new window is now open.
Select the files and upload them into the opened folder.
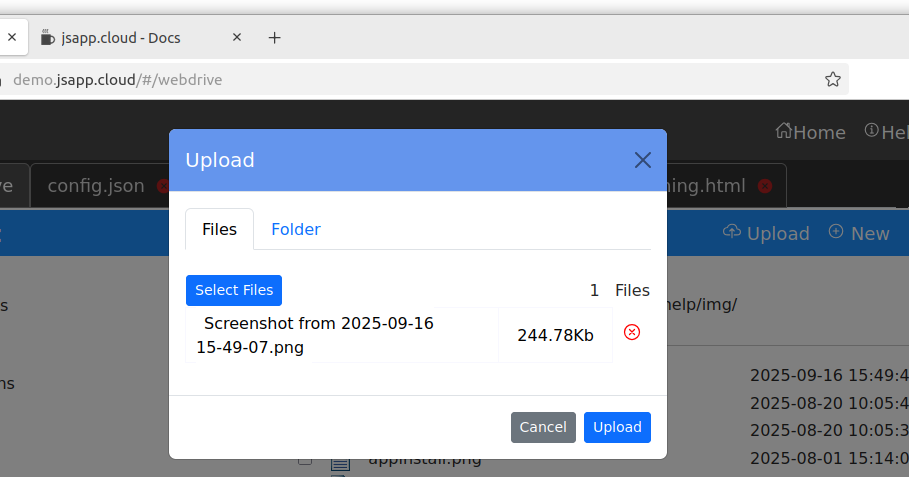
Click on a file to download it. Upload Folder
Using a modern web browser the upload folder is available. Press the "Upload" button and chose "Folder" in the new window. Press "Start upload" button and next "Select Folder", the web browser will ask for operation aproval like in next image (can be different on your computer).
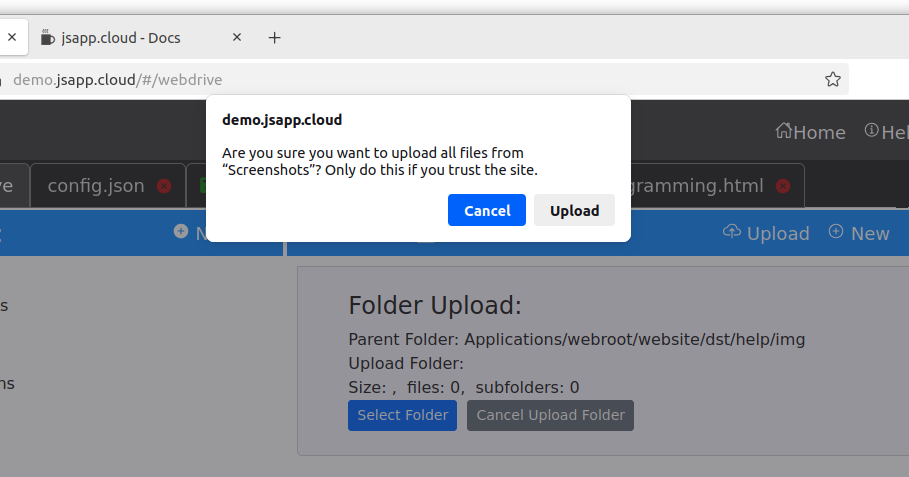
Choose the desired folder from your device and follow the upload steps.
The selected folder and sub-folders will be uploaded.
Do NOT close the browser page until the upload is done. You will have the status all the time.
Share Folder
Use share folder to give access to an user or an user group.
You can share with access rights:
- read only ( files can be downloaded, upload is not available )
- write ( download and upload are available )
Use the buttons ( see the image bellow ) to add users or users goups to the share access for one folder.
Files bar, available for an open folder.
The default folders (Documents, Files, etc.) cannot be shared ; only sub-folders can be shared.

Search
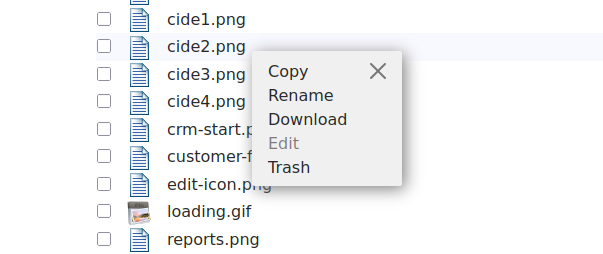
The search is available in the current sub-folder, it will search only in fils names. The files are encryted, and for security reason an index file is not possible. Press "Search" button in the right of the "Files" bar. File shortmenu
Mouse right-click on a file to have a short menu with available options.
( rename file , trash ... )
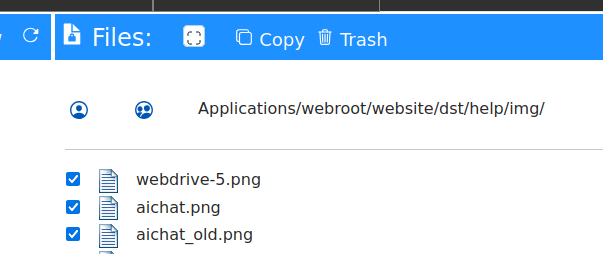
Copy Paste
Select one or more files and press "Copy" on the "Files" bar, navigate to another subfolder and press "Paste" to copy files there.
Trash files
Select one or more files and press "Trash" on the "Files" bar. To recover the files, open the "Trash" folder, select files and press "Recover".
4. Office Documents
The system uses the WOPI protocol, it can be configured to use other Online Office editors at choice.
Press the
 to edit the file. The icon is visible on mouse hover.
Doc,Docx, XLS, XLSX, Ppt, Pptx, odf, ods, odp files can be edited.
You can create new Office files with the "New" option in files section top.
See the editor screenshot at the bottom of this page.
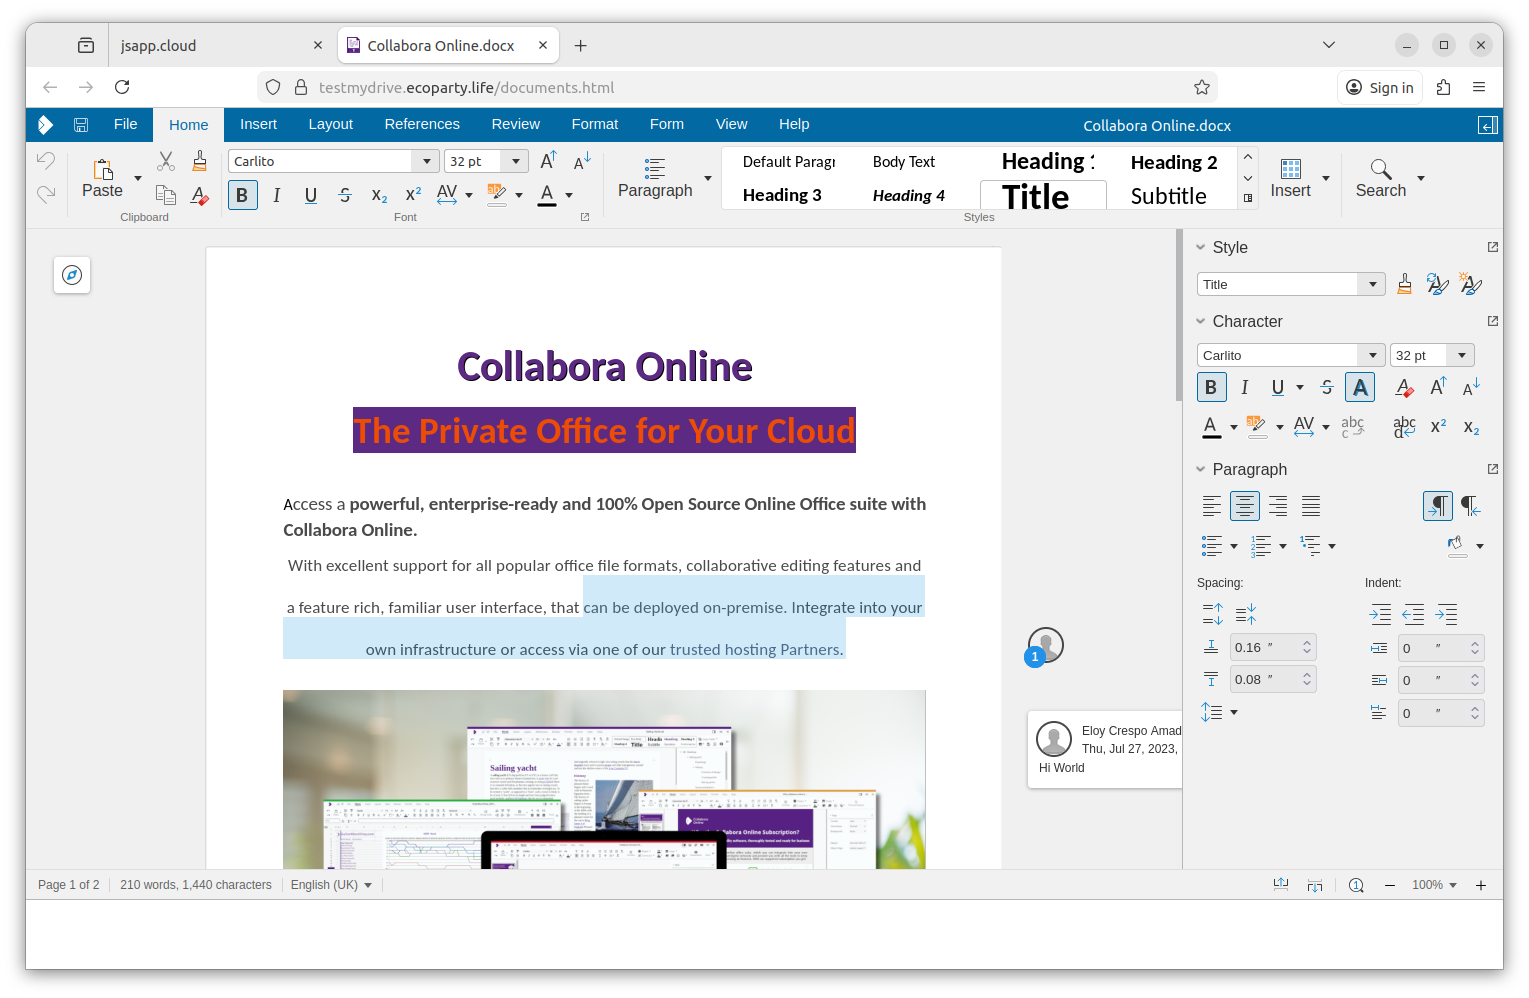
Collabora Online can be used to edit the same document by more users at the same time.
To do that, the file should be in a shared folder, available for different users.
5. MFA - Multi Factor Authorization
Multi-Factor Authorization is used to protect your account in case your password is leaked.
When activated, the web application will ask for an additional code with your login form. The system administrator may ask you to activate MFA depending on your company policies ; however, you can do it without approval in order to better protect your account.
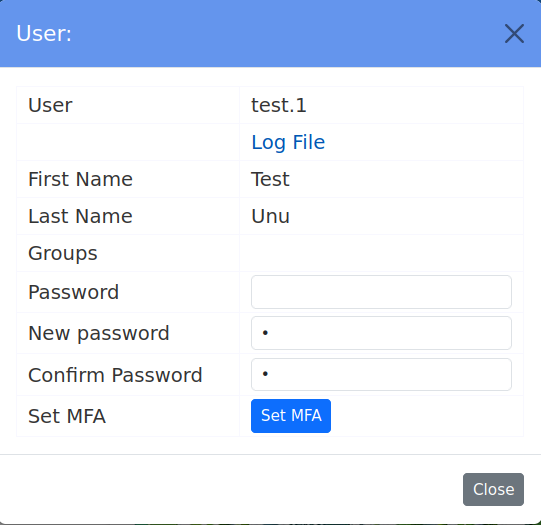
To activate the MFA option, you will need to open your user configuration window and press the "SET MFA" button.
![]() in the web-app main menu.
in the web-app main menu.
There are a multitude of MFA solutions. My-Drive implements the smartphone authenticator app solution by default. The MFA authenticator smartphone application is offered by Google, Microsoft , or another vendor. It is a software app installed on your smartphone that can generate a code based on local time and your unique user key. My-Drive offers authorization services that can use the MFA settings in place ; the web client interface can register an MFA key with your smartphone . One authenticator app does not send or receive keys ; it is a standalone app that can create codes/keys at one moment for your username. It uses a standard TOTP based on the public RFC for Multi-Factor Authorization.
We do recommend the Google Authenticator app for smartphones unless your system administrator requests another one.
By default, you can have only one active MFA key at one moment . It is up to you to install the key on more devices, and that can be done with the same generated QR code (at one momment in time). We do not recommend storing the QR code or sending it via unprotected media like public messaging systems ( WeTransfer, WhatsApp , Facebook Messenger , Telegram, or others alike ) or email. If you still need to store or send it, you should ask your system administrator for the company policy in that case.
5.1 SET MFA
To activate the MFA option, you will need to open your user configuration window and press the "SET MFA" button.
The system will generate a QRC code to be used within your authenticator app in order to create a key record.
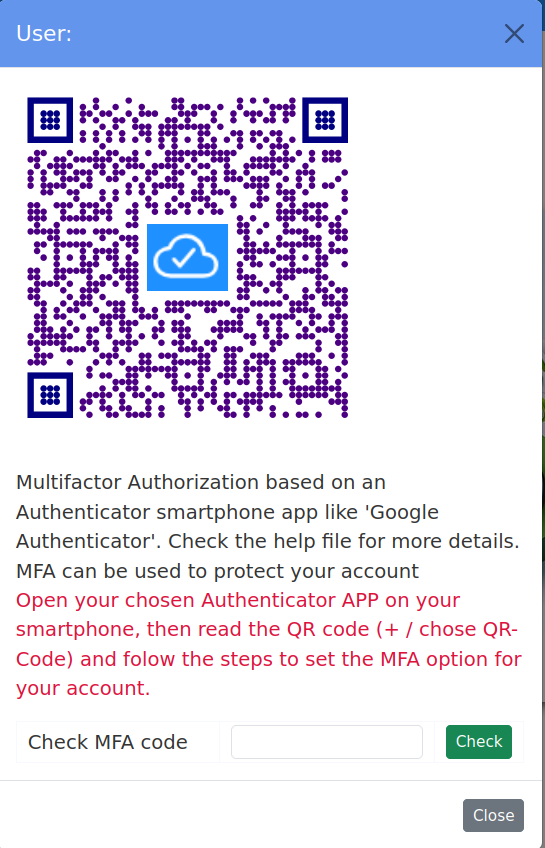
The QR code-generated key is available for a few minutes to be validated and registered. After you have set the MFA key , you can change it at any time by repeating the activation process ; see reset- MFA next.
5.2 ReSET MFA
When your account has MFA activated, you can reset the authenticator key.
To reset your MFA key, you will need to open your user configuration window and press the "Reset MFA" button.
If you have lost your smartphone or the authenticator app or key record, you should ask your system administrator to reset MFA settings for you. It can be done in the user management module for your user account. The system administrator cannot change your MFA key but can delete it in order to recreate it when you log in with your user account.
5. API integration - AI Chat
The implementation is simple, it just allows TEXT messages and does not save a record of the messages. You can copy the conversation into clipboard and paste later into a text document.
Press the "trash" icon to delete a conversation ; the system sends the conversation history for each request. You may want to avoid unnecessary data transfer.
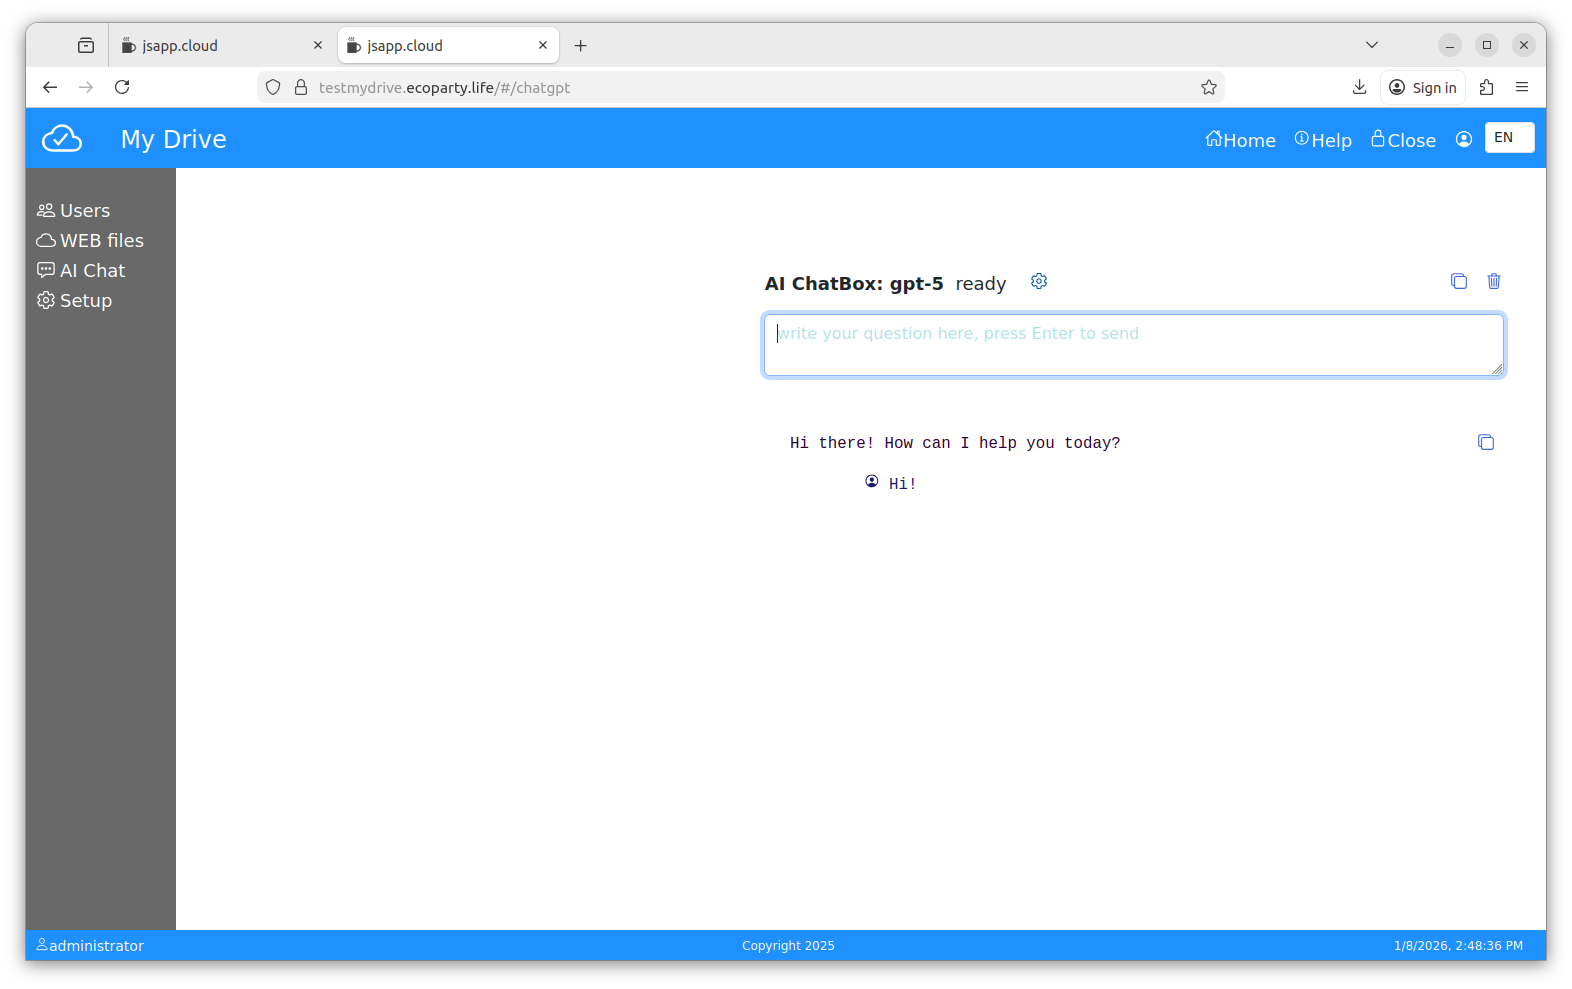
Ask something, it is connected to the OpenAI.
Configuration: The AI Chat backend is configured to use the Open AI API. A valid API key is required to access the services from Open AI.
If a key is not found ( not configured yet or expired ), the setup form will be shown, if you want to change/configure the used GPT version, click on the settings icon.
7. Programming My-Drive.CLOUD
My-Drive.CLOUD is based on JSAPP.CLOUD web application development platform.
The JSAPP.CLOUD offers a web client application that includes an online IDE.
See the platform documentation here. The backend can be programmed as well.
The storage for the application is AWS S3. Files are stored encrypted, as are all files used by the platform.
The location of the files is the "Application/webroot/website/" folder (administrator account).
See the "Web Files" module. You can use the available CLOUD IDE for programming, or you can upload the final project using the Web Files folder upload option.
The default web client offered uses Vue.js and Bootstrap, the back-end is NodeJS.
The Web Files module offer zip folder option, it does not have unzip, but you can use folder upload.
You can build an intranet application for your company starting with the My-Drive Web Client application . If you need database applications, you should check the JSAPP.CLOUD which comes with a DataAccess managed API.
7. Technical support
The MY-DRIVE.CLOUD is developed and supported by Q-Bis Consult SRL.
Check the https://www.my-drive.cloud web page for helpdesk and technical support.
8. Security
The authorization service is secured by default ; it is protected against brute force attack types .
The system is based on "no trust" ; each API call requires an authorization key (JWT).
The file storage is based on the AWS S3 service and a private cloud in your AWS account. Files are stored encrypted with your own system key.
The encryption is AES 256.
Security is the main priority of this system:
- The office editors are hosted within the same VPC (virtual private CLOUD ); your edited files do not leave the premises.
- While the system uses collaboration among your user list/groups, it does not share files/folders with other systems or OSs via WEBDAV.
- Third- party applications can access files/folders using the authorization mechanism and the system APIs .
- There are no indexes of the files.
- While there is a list of users, kept encrypted in an internal NoSQL database , it does not contain passwords or password hashes.